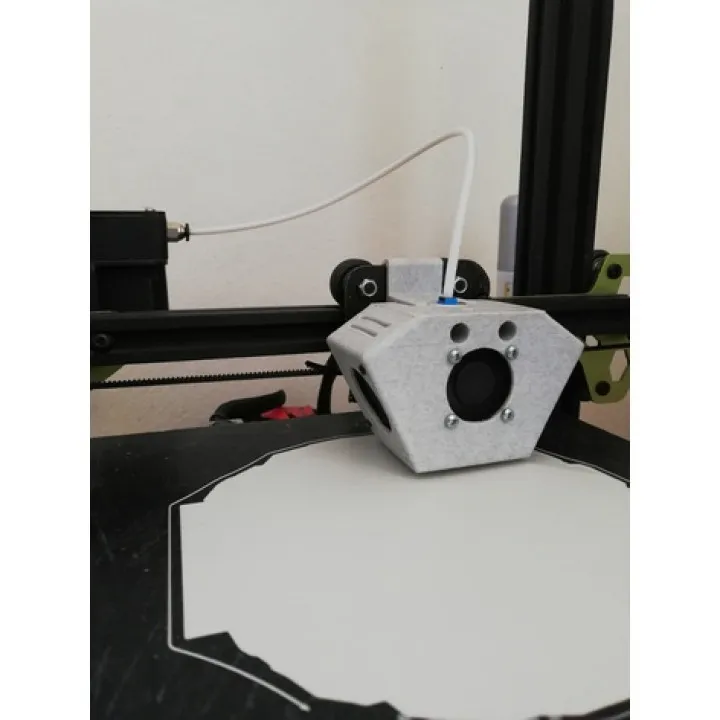
Choosing the Right Tevo Tarantula Nozzle Upgrade
Upgrading your Tevo Tarantula’s nozzle is a fantastic way to improve print quality, explore new materials, and optimize your 3D printing experience. The stock nozzle on the Tevo Tarantula, while functional, can be a limiting factor in achieving the best possible results. This guide provides a comprehensive look at the process, from selecting the right nozzle to troubleshooting common issues. A well-chosen and properly installed nozzle can significantly enhance your printer’s capabilities, allowing for finer details, faster printing speeds (depending on the nozzle type and material), and the use of a wider range of filaments. This guide will help you navigate the various options and make an informed decision.
Understanding Nozzle Types
Understanding the different types of nozzles available is crucial for making an informed decision. The material of the nozzle and its orifice size play a significant role in print quality, material compatibility, and overall performance. Different materials offer unique advantages in terms of heat resistance, wear resistance, and filament compatibility. The orifice size, measured in millimeters, determines the thickness of the extruded lines and influences both the resolution and the speed of your prints. Considering these factors carefully is essential to selecting a nozzle that aligns with your printing needs.
Brass Nozzles
Brass nozzles are the most common and affordable option. They offer good thermal conductivity, allowing for efficient heating and melting of the filament. Brass nozzles are well-suited for printing with PLA, ABS, and PETG filaments. However, brass is a relatively soft material and can wear down over time, especially when printing with abrasive filaments such as carbon fiber-filled materials. They are a good starting point for those new to 3D printing and offer a balance of performance and cost-effectiveness, suitable for general-purpose printing tasks. Regular cleaning and maintenance can extend their lifespan.
Stainless Steel Nozzles
Stainless steel nozzles offer increased durability and resistance to wear compared to brass. They are a suitable upgrade if you’re looking for a nozzle that can handle a variety of filaments and withstand more prolonged use. Stainless steel nozzles are generally more resistant to abrasion than brass nozzles, making them a better choice for printing with slightly abrasive filaments. However, stainless steel has lower thermal conductivity than brass, which might require slightly higher printing temperatures or slower printing speeds. Stainless steel nozzles provide a good middle ground between performance and durability.
Hardened Steel Nozzles
Hardened steel nozzles are the most robust and durable option, specifically designed for printing with highly abrasive filaments like carbon fiber, glass-filled, or metal-filled filaments. These nozzles are incredibly wear-resistant, ensuring longevity even when using abrasive materials. While more expensive than brass or stainless steel, hardened steel nozzles are a worthwhile investment if you frequently print with abrasive filaments. Their superior wear resistance helps maintain print quality and prevents the nozzle orifice from enlarging over time, which can degrade print precision. They offer a high level of performance and are built to last.
Choosing the Right Nozzle Material
The best nozzle material depends on your printing needs. If you primarily print with PLA, ABS, or PETG, a brass nozzle is an excellent and economical choice. For more durable performance and compatibility with a broader range of filaments, including slightly abrasive ones, stainless steel is a good upgrade. If you frequently work with carbon fiber, glass-filled, or metal-filled filaments, a hardened steel nozzle is the best option. Consider the types of filaments you plan to use and the desired longevity of the nozzle when making your decision. Also consider the cost of the nozzles and if you need to change the printer configuration when changing nozzles.
Tools and Materials Needed for the Upgrade
Gathering the right tools and materials is essential for a smooth nozzle upgrade. Having everything prepared beforehand will make the process more efficient and prevent any delays. Ensure you have all the necessary items within reach before starting the upgrade process to avoid interruptions. Preparation is key to a successful upgrade and will help prevent any damage to your printer or the new nozzle. This preparation will not only make the process easier but also safeguard against potential issues and ensure the quality of your prints.
Essential Tools
You’ll need a set of wrenches or a specific nozzle wrench designed for 3D printers. Ensure the wrench size matches your new nozzle. A clean, heat-resistant surface (like a silicone mat) is useful for placing hot components. Tweezers or pliers can help handle small parts. Gloves are recommended to protect your hands from heat. Additionally, a good quality set of Allen wrenches might be needed, depending on your printer’s hot end design. These tools are crucial for safely removing the old nozzle and installing the new one.
Replacement Nozzle
Of course, you’ll need the new nozzle itself! Choose the correct material and orifice size for your printing needs. Common orifice sizes include 0.4mm (general-purpose), 0.6mm (for faster printing), and 0.2mm (for finer details). Make sure the nozzle is compatible with your Tevo Tarantula’s hot end. Check the specifications and reviews to ensure you’re purchasing a reliable and compatible replacement. Ensure the nozzle has the proper thread size and is the correct type for your printer’s hot end. When selecting the nozzle, consider the type of filament you will be using.
Wrench Set
A wrench set specifically designed for the nozzle is essential. This set will enable you to safely remove the old nozzle and install the new one without damaging the hot end. Having a wrench set designed for the nozzle, the appropriate size is crucial to avoid stripping the threads. The wrench set should be of good quality to ensure a secure grip on the nozzle during removal and installation. Make sure to use the correct size wrench for the nozzle to prevent any damage.
Thermistor and Heating Cartridge
While not always necessary, it’s good to have replacement thermistors and heating cartridges on hand. Sometimes, these components can be accidentally damaged during the nozzle replacement process, particularly if you’re new to this procedure. Having spares will help you avoid any downtime and quickly resolve issues. It’s always wise to have a backup in case of accidental damage during the process. Always disconnect the power before working on the heating components.
Step-by-Step Tevo Tarantula Nozzle Upgrade Guide
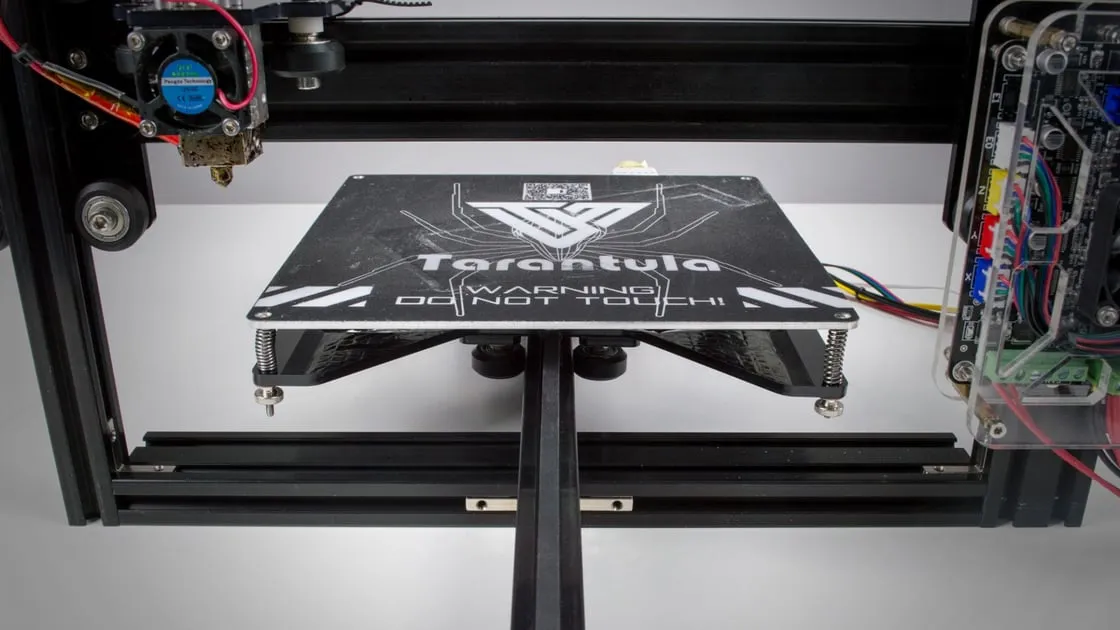
Follow these steps to upgrade your Tevo Tarantula nozzle successfully. Taking your time and paying attention to detail will ensure the best results. Before starting, it is essential to disconnect the printer from the power supply to avoid any risk of electrical hazards. Always allow the hot end to cool completely before proceeding with any disassembly to prevent burns. Careful execution of these steps will help you get the most out of your new nozzle.
Preheating the Hot End
Preheat your printer’s hot end to the temperature you usually use for printing with the material you are using. This will help to soften any filament residue and make it easier to remove the old nozzle. Refer to your printer’s manual or online resources for the correct preheating procedure. Preheating the hot end is essential to ensure the old nozzle is free of any plastic residue and can be easily removed without damaging the printer. Let the hot end reach its target temperature.
Removing the Old Nozzle
Once the hot end is preheated, use the appropriate wrench to carefully loosen and remove the old nozzle. Hold the hot end firmly with one hand (using gloves for protection) while loosening the nozzle with the other. Be extremely cautious to avoid burning yourself on the hot end. Turn the wrench slowly and steadily to prevent stripping the threads. Once the nozzle is loose, unscrew it completely and set it aside. Inspect the threads on the hot end and clean them if necessary.
Installing the New Nozzle
Carefully screw in the new nozzle by hand until snug. Then, use the wrench to tighten it firmly, but avoid over-tightening, which could damage the threads. Make sure the nozzle is firmly seated against the heat break. Over-tightening can lead to leaks or damage the heating block. Properly tightening the nozzle is crucial for preventing filament leakage and ensuring a consistent extrusion of filament. Ensure the nozzle is securely tightened but not excessively so.
Tightening the Nozzle
Tighten the nozzle securely to prevent leaks. Do not overtighten, as this could damage the hot end. Use the correct wrench size and apply firm pressure. Ensure the nozzle is flush against the heat block. Proper tightening is vital for preventing leaks and ensuring that the filament is properly extruded. If the nozzle is not tightened adequately, filament can leak, causing printing problems and potential damage to your printer. When tightening, aim for a snug fit without applying excessive force.
Calibrating and Testing the Upgrade
After installing the new nozzle, it’s crucial to calibrate your printer and test the upgrade. This will ensure optimal print quality and performance. Calibration involves adjusting the settings to suit the new nozzle and material. Careful calibration and testing will help you refine your printer’s settings and enhance the quality of the prints. Proper calibration ensures the new nozzle operates effectively.
Adjusting Print Settings
Adjust your print settings in your slicer software to match the new nozzle. This includes setting the correct nozzle diameter, adjusting the printing temperature, and potentially modifying the print speed and layer height. Refer to the filament manufacturer’s recommendations for the optimal printing temperature. Fine-tune your settings for the best results. Adjust the nozzle diameter, printing temperature, and print speed based on the specifications of the new nozzle and the filament you are using. This ensures the printer is configured properly for the new nozzle.
Troubleshooting Common Issues
Even with a successful upgrade, you might encounter a few issues. Knowing how to troubleshoot common problems will help you quickly resolve them and get back to printing. Addressing these common issues promptly can save you time and frustration. Familiarize yourself with these potential problems and their solutions to enhance your printing process.
Nozzle Clogging
Nozzle clogs are a common issue. They can be caused by filament debris, incorrect printing temperatures, or printing too fast. If your nozzle is clogged, try the following: heat the hot end to the printing temperature of your filament, manually extrude filament, and use a nozzle cleaning needle. Adjust the temperature, slow down print speeds, and ensure the filament is clean and dry. Consider a cold pull, where you heat the nozzle, extrude, cool it, and then pull the filament to remove any debris. Prevent clogs by using clean filament, setting correct temperatures, and ensuring proper retraction settings.
Poor Bed Adhesion
Poor bed adhesion can result in prints that detach from the bed. Ensure your bed is properly leveled and cleaned. Use a suitable adhesive, such as glue stick or painter’s tape. Check the first-layer height and adjust it as needed. Ensure proper bed temperature settings. Check the level of your print bed, and if needed, clean the print surface using isopropyl alcohol. Apply the right bed adhesion methods, such as using adhesives, to ensure your print sticks well. Poor bed adhesion can be resolved by adjusting the bed level and the first layer height.
Extrusion Problems
Extrusion problems, such as under-extrusion or over-extrusion, can affect print quality. If you’re experiencing extrusion problems, first check the nozzle temperature and the extruder settings. Calibrate the extruder steps/mm. Make sure the filament is feeding smoothly. Problems with extrusion can be caused by incorrect nozzle temperature, clogged nozzles, or problems with the extruder. Calibrating your extruder is essential to accurately control the amount of filament extruded. Also, make sure that the extruder isn’t skipping steps or having problems with the feeding of the filament.
Upgrading your Tevo Tarantula nozzle is an excellent way to improve your 3D printing experience. By following this guide, you can confidently choose the right nozzle, install it correctly, and troubleshoot any issues that may arise. Enjoy experimenting with different materials and achieving higher-quality prints!
