Why Replace Your Tevo Tarantula Hotend?
The hotend is a critical component of your Tevo Tarantula 3D printer, responsible for melting and extruding filament to create your 3D prints. Over time, hotends can experience issues that degrade print quality or even prevent printing altogether. Recognizing the need for a hotend replacement is the first step in restoring your printer to its full potential. This guide provides a straightforward approach to replacing your Tevo Tarantula hotend, ensuring a smooth process and helping you avoid common pitfalls.
Signs Your Hotend Needs Replacing
Several signs indicate that your Tevo Tarantula hotend may need replacing. Addressing these issues promptly can save you from frustration and wasted filament. Recognizing the symptoms early on allows you to take corrective action before significant problems arise. This will also help improve the overall printing experience. Consider these common issues when diagnosing hotend problems.
Clogged Nozzle
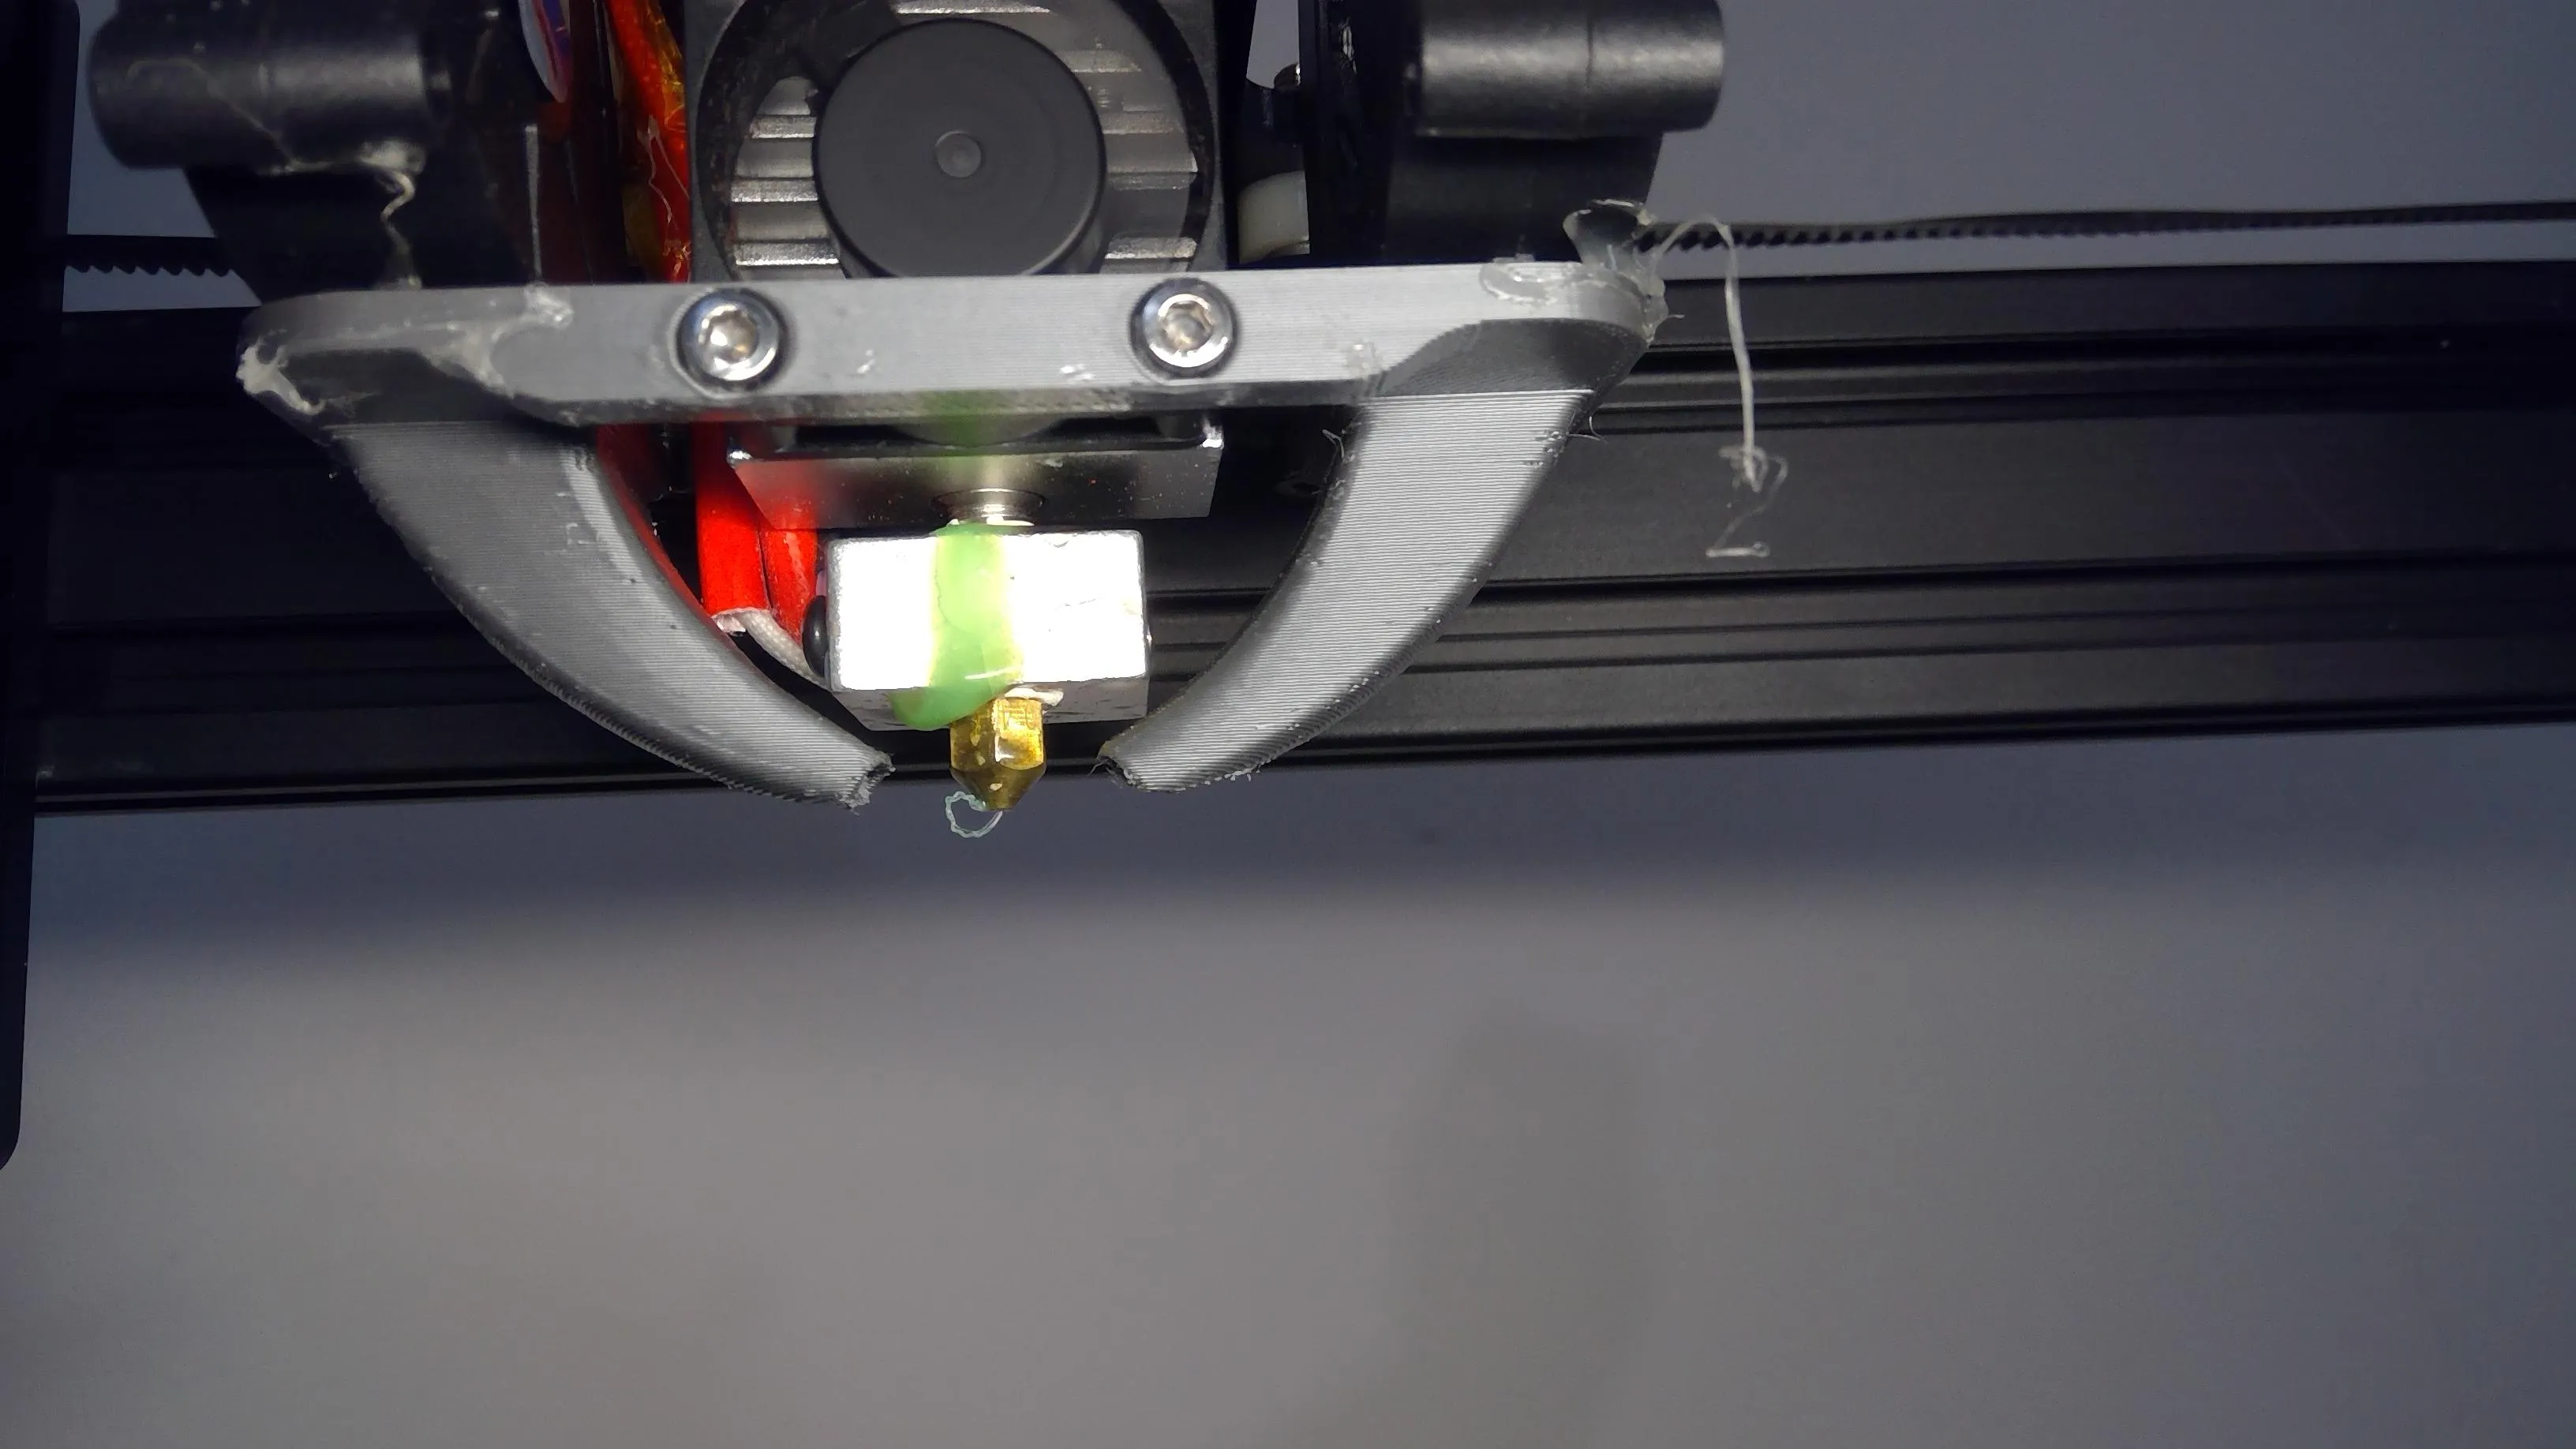
A clogged nozzle is one of the most frequent issues. This can happen due to various reasons, including incorrect printing temperatures, low-quality filament, or the presence of debris in the filament. A clogged nozzle can prevent filament from extruding properly, leading to incomplete layers or print failures. You might try to clean the nozzle first. If the clog persists, or happens repeatedly, a new hotend might be the best solution.

Leaking Filament
Filament leaking from the hotend, especially around the heat block or nozzle threads, is another critical sign. This usually indicates that the hotend components are not properly sealed or that the nozzle is loose. Leaks can cause filament to accumulate on the hotend, leading to blobs on your prints and potential damage to the printer. In some cases, the heat block might not be correctly attached to the heat break or the nozzle might not be tightened properly.

Poor Print Quality
If your prints consistently exhibit poor quality, such as under-extrusion, inconsistent layer adhesion, or stringing, the hotend could be the culprit. These issues may stem from a partially clogged nozzle, incorrect temperature settings, or wear and tear on the internal components. Improving print quality is essential for any printing project. Although other factors can contribute to these problems, the hotend is often a primary suspect. Consider troubleshooting other printer settings after the hotend replacement.
Tools and Materials You’ll Need
Before you begin the hotend replacement, gather all the necessary tools and materials to ensure a smooth and efficient process. Having everything ready will save you time and prevent interruptions during the procedure. Preparing in advance is a key element to a successful hotend replacement. Make sure you have all the tools easily accessible before you start working on your Tevo Tarantula.
Essential Tools
You will need a few essential tools to replace the hotend on your Tevo Tarantula. These include a set of hex keys (Allen wrenches), which are essential for removing screws and disassembling the hotend components. A pair of pliers or adjustable wrenches will be useful for gripping and tightening the nozzle. You may also need a small Phillips head screwdriver, depending on your hotend model. Additionally, a heat gun or hair dryer can be helpful for heating the hotend and loosening stubborn parts.

Replacement Hotend
The most important material is the replacement hotend itself. Make sure you purchase a hotend compatible with the Tevo Tarantula. There are various options available, including the original style hotend and upgraded versions. Consider your printing needs and budget when selecting a replacement. Look for a hotend with a reliable heater cartridge and thermistor to ensure accurate temperature control. Consider purchasing a spare nozzle or two for future needs.

Filament
You will need some filament to test the new hotend after installation and calibration. Having a roll of your preferred filament readily available will help you verify that the replacement is working correctly and that your printer is performing optimally. Consider using a common filament type, such as PLA, for initial testing. Make sure the filament is compatible with the hotend’s temperature range. Having filament ready to go will help you verify the functionality of the replacement.
Step-by-Step Replacement Guide
Follow these steps to replace the hotend on your Tevo Tarantula. Take your time and be meticulous during the process. Patience and accuracy are key to a successful hotend replacement. Refer to the images for visual guidance throughout the procedure. This step-by-step guide ensures a smooth transition.
Preparing the Tevo Tarantula
Before you start, power off and unplug your 3D printer. Allow the hotend to cool completely to avoid burns. Secure the print bed and the print head to prevent any accidental movement during the process. This will prevent any accidental damage to your printer or your surroundings. Ensure the printer is stable and well-lit to facilitate the replacement. This will also help you easily visualize the procedure.
Removing the Old Hotend
Carefully remove the old hotend from the printer frame. Disconnect the wiring from the heater cartridge and thermistor. Use the appropriate tools to loosen and remove the screws that secure the hotend to the print head. Once the screws are removed, carefully detach the hotend from the print head. Take photos before removing parts so you can put everything back correctly. This will allow you to easily reference the wiring and positioning of the hotend.

Installing the New Hotend
Mount the new hotend onto the print head. Secure it using the same screws you removed from the old hotend. Ensure the hotend is properly aligned and firmly attached to the print head. Connect the heater cartridge and thermistor wires to the appropriate terminals. Double-check that all screws are securely tightened. Check the wires to make sure they are not too close to the hotend body. Tighten all screws to avoid any filament leaks.

Wiring the New Hotend
Carefully connect the wires from the new hotend to the printer’s control board. Ensure that the wiring is correct. Refer to your printer’s manual or online resources if you’re unsure about the wiring configuration. Proper wiring is critical for the hotend to function correctly. Ensure the wires are securely connected and that they are not shorting out. Before you start, make sure you have a good understanding of the wiring configuration to prevent any damage to your printer components.
Calibrating the Hotend
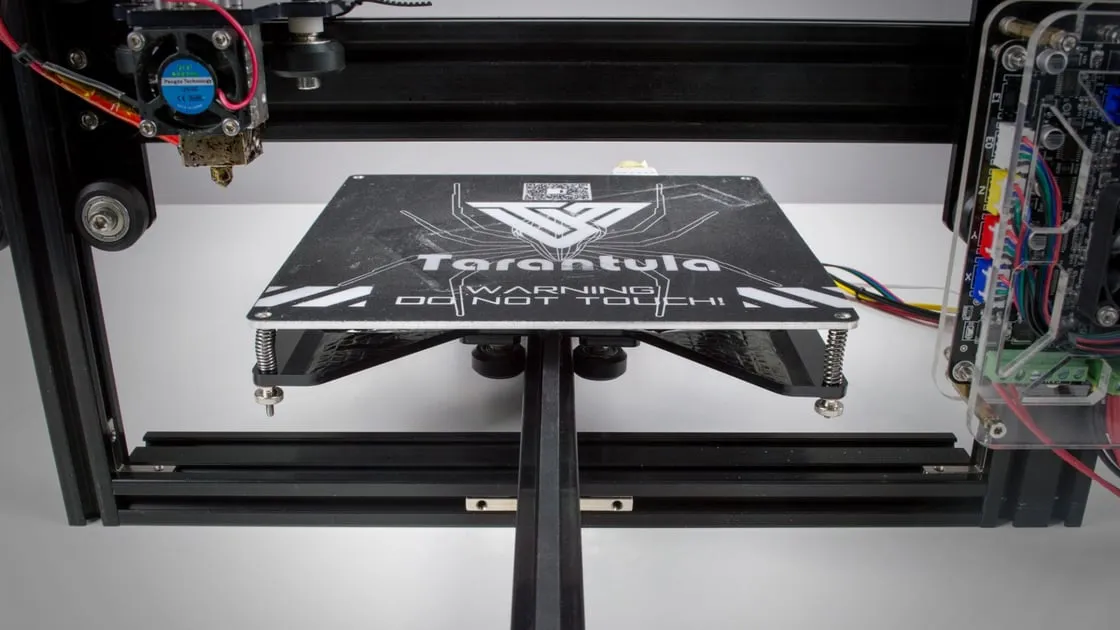
Once the new hotend is installed, calibrate the temperature settings through your printer’s firmware or the printer’s control panel. Set the appropriate temperature for the filament you are using. Also, check and adjust the Z-offset to ensure the correct first-layer adhesion. Proper calibration is essential to prevent problems such as warping, poor layer adhesion, and nozzle clogs. Perform a test print to verify the calibration settings.

Troubleshooting Common Issues
After replacing the hotend, you may encounter a few issues. It is important to know how to troubleshoot common problems. Troubleshoot these before you decide to replace the hotend again. Here are some frequent issues and how to solve them.
Hotend Doesn’t Heat Up
If the hotend doesn’t heat up, check the wiring connections to the heater cartridge and thermistor. Ensure that the wires are securely connected and that the printer’s control board is receiving power. Check the thermistor readings to ensure the printer is accurately detecting the hotend temperature. You can also use a multimeter to test the heater cartridge for continuity. If the heater cartridge is faulty, it will need to be replaced.
Filament Isn’t Extruding

If filament isn’t extruding, check for clogs in the nozzle. Heat the hotend to the filament’s printing temperature and try manually extruding filament. Clean the nozzle with a nozzle cleaning tool or by using the atomic pull method. Ensure the extruder gear is gripping the filament properly. Check the extruder settings in your slicer to ensure that the extrusion multiplier and other settings are correct. Check the filament path for any obstructions.
Hotend Leaks Filament
If the hotend leaks filament, ensure that all components are properly tightened. Check the nozzle, heat block, and heat break for any loose connections. Heat the hotend to its printing temperature and tighten the nozzle. Be careful not to overtighten. If the leaks persist, it may be necessary to replace the hotend or specific components. Using high-quality filament and maintaining the correct printing temperatures can also prevent leaks.
Final Checks and Test Print
Before completing the hotend replacement, perform a series of final checks to make sure everything is working correctly. These checks will help you catch any remaining issues and will improve your overall printing experience. After the checks, you can run a test print to verify your printer is printing smoothly. This will also give you a chance to make further adjustments.
Performing a Test Print
To verify the hotend replacement, perform a test print. Select a simple model or use the test print provided by your slicer. Observe the first layer adhesion and overall print quality. Make any necessary adjustments to the bed leveling, Z-offset, and temperature settings. A successful test print confirms that your Tevo Tarantula is functioning correctly. You can then proceed with your larger projects.
Post-Replacement Maintenance
After replacing your hotend, there are some maintenance steps you can do to keep your printer running smoothly. Regularly clean the hotend and nozzle to prevent clogs and ensure consistent performance. Inspect the hotend for any signs of wear or damage. Maintain your printer properly by lubricating moving parts and tightening any loose screws. By keeping up with regular maintenance, you will prolong the lifespan of your printer and ensure consistent quality.
