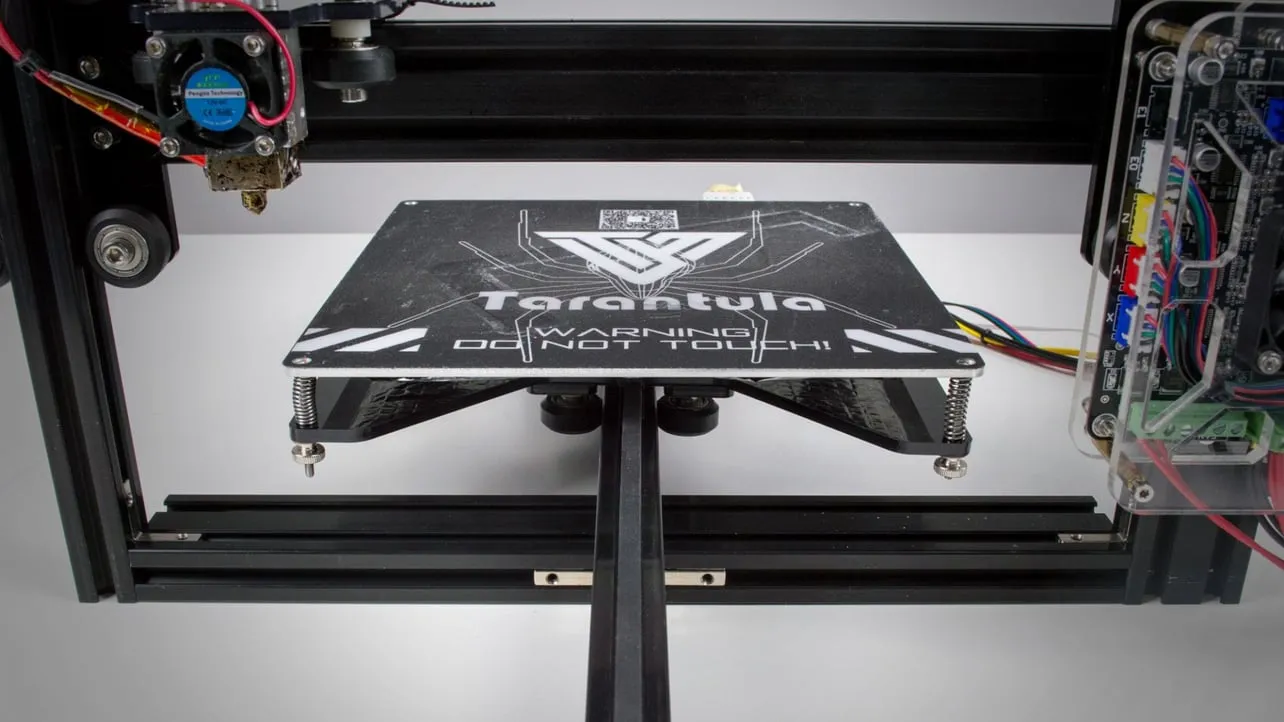
What Causes Tevo Tarantula Heating Failure?
A malfunctioning Tevo Tarantula can be incredibly frustrating, especially when the heating element fails. This issue can halt your 3D printing projects and lead to wasted materials. Understanding the root causes of heating failures is the first step in diagnosing and resolving the problem. Several factors can contribute to this issue, ranging from simple component failures to more complex electrical problems or incorrect firmware settings. Identifying the precise cause is essential to ensure a successful repair and prevent future occurrences. This guide delves into the most common culprits, offering practical solutions to get your printer back up and running.
Faulty Thermistor
The thermistor is a crucial component in your 3D printer’s heating system, responsible for monitoring and reporting the temperature of the hot end and the print bed. If the thermistor fails, the printer may not be able to accurately read the temperature, leading to heating problems. A faulty thermistor can cause various issues, including the printer not heating at all, overheating, or providing erratic temperature readings. Regular inspections and testing are critical to identifying thermistor-related issues before they severely impact your prints. Replacing a faulty thermistor is often a straightforward fix that can quickly restore your printer’s heating functionality. Always ensure the correct type of thermistor is used for optimal performance.
How a Thermistor Fails

Thermistors can fail in several ways, and understanding these failure modes can help you diagnose the problem more accurately. One common cause is physical damage, such as a broken wire or a damaged sensor head, especially if mishandled during maintenance or assembly. Another reason is component degradation over time, particularly if the printer is used frequently at high temperatures. Exposure to extreme temperatures or environmental conditions can also shorten a thermistor’s lifespan. Electrical issues, such as short circuits or voltage spikes, can lead to thermistor failure, impacting the accuracy of temperature readings and potentially causing heating inconsistencies. By knowing how thermistors fail, you can be more proactive in maintaining and protecting this essential component.
Fixing a Faulty Thermistor
If you suspect your thermistor is the cause of the heating failure, the first step is to verify its functionality. You can do this by using a multimeter to check its resistance. A working thermistor will show a resistance that changes with temperature. If the resistance is constant or the readings are erratic, the thermistor is likely faulty and needs replacement. Carefully disconnect the old thermistor, making note of its wiring connections. Install the new thermistor, ensuring that the connections are secure, and that the thermistor is correctly positioned to accurately measure the hot end or bed temperature. After installation, perform a temperature test to ensure the new thermistor provides accurate readings and that the heating system functions as expected.
Power Supply Problems
The power supply unit (PSU) provides the necessary electricity for all the components of your Tevo Tarantula, including the heating elements. If the PSU is malfunctioning, it may not provide enough power to heat the hot end and/or the print bed. Problems can range from complete power failure to insufficient voltage or amperage, which can prevent the heating components from reaching the desired temperature. PSU failures can be caused by wear and tear, overheating, or electrical surges. To ensure your printer’s reliable operation, regular inspection of the PSU and timely replacements of faulty components are essential.
Identifying Power Supply Issues
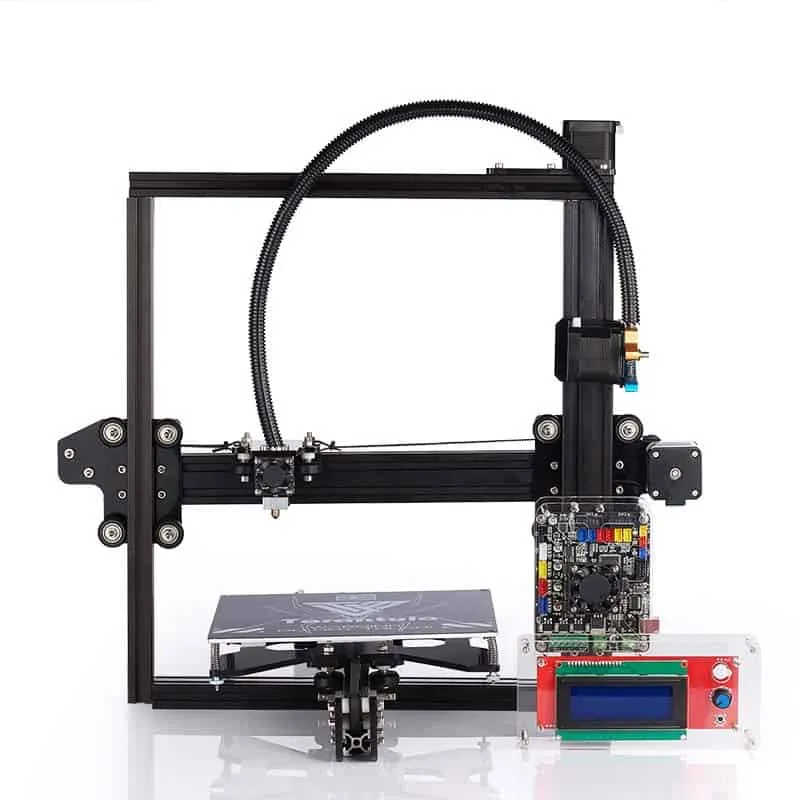
Identifying power supply problems requires a systematic approach. Start by checking the PSU’s voltage output using a multimeter. The voltage should match the specifications for your printer. Look for signs of physical damage, such as bulging capacitors or burnt components on the PSU board. If the PSU is getting excessively hot, this could indicate an overload or internal failure. Additionally, pay attention to unusual noises, such as buzzing or hissing, which may indicate an impending failure. Observe the printer’s behavior during startup; if the heating elements fail to initialize or experience intermittent power, the PSU could be the root cause. Performing these checks regularly can help prevent serious printer malfunctions.
Troubleshooting Power Supply
When troubleshooting a suspected PSU problem, begin by disconnecting the printer from the power source. Next, inspect the power supply’s connections for any loose or damaged wires. If the voltage readings are incorrect, the PSU likely needs to be replaced. Ensure you purchase a replacement PSU with the same voltage and amperage ratings. Once the new PSU is installed, carefully reconnect all the wires, paying close attention to the polarity. After the replacement, it’s crucial to test the heating elements to ensure they heat up correctly and reach the required temperature. Monitor the printer’s performance over several print jobs to confirm the power supply operates effectively under load. Remember safety first always.
Damaged Heating Cartridge
The heating cartridge is responsible for generating the heat needed to melt the filament at the hot end. Over time, or due to overuse or improper maintenance, this cartridge can fail. The cartridge can burn out or its internal wiring can break, preventing it from heating up. If the heating cartridge fails, the printer will not extrude filament correctly, leading to failed prints. Regularly checking the heating cartridge is a critical maintenance step for all 3D printer owners. A failed heating cartridge is often a simple, straightforward fix.
Signs of a Damaged Heating Cartridge
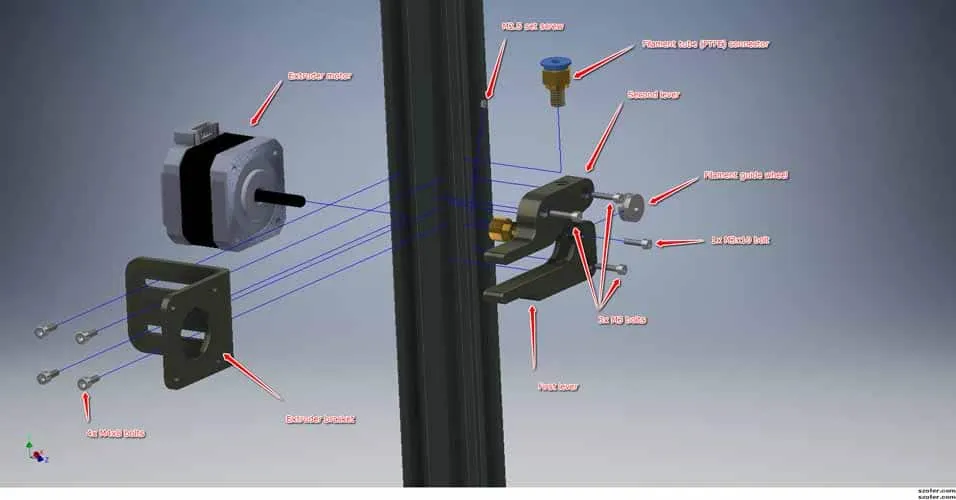
Several signs indicate a damaged heating cartridge. If the hot end does not heat up at all, this is the most obvious indicator. Inconsistent heating, where the temperature fluctuates erratically, can also suggest a problem. Check for visual clues, such as burn marks or any physical damage on the cartridge itself or its wiring. A multimeter can be used to test the cartridge’s resistance; an open circuit indicates that the cartridge has failed. Additionally, listen for unusual noises, such as buzzing or clicking, while the printer is attempting to heat up. These signs can help you quickly determine if your heating cartridge needs replacement and prevent more extensive damage.
Replacing the Heating Cartridge
Replacing the heating cartridge involves a few careful steps. First, disconnect the printer from the power source. Allow the hot end to cool down completely to prevent burns. Next, carefully remove the old cartridge, noting the wiring configuration and the way it’s mounted. Install the new heating cartridge, ensuring it is securely in place and properly connected to the printer’s wiring. Use high-temperature-resistant tape to secure the wires. After installation, perform a temperature test to verify that the new cartridge heats up correctly and reaches the desired temperature. Monitor the heating performance during a test print to ensure the replacement was successful and resolve any subsequent issues.
Wiring Problems
Loose or damaged wiring can disrupt the electrical current flow to the heating components, leading to heating failures. Vibrations, repeated movement, and wear over time can cause wiring connections to loosen or break. This is particularly common in printers, where the hot end and bed move during operation. Faulty wiring can manifest as intermittent heating, where the printer heats up sporadically or not at all. Proper wiring is key to ensuring your Tevo Tarantula runs at peak performance. Regular inspection and maintenance of your wiring setup will help prevent unexpected printer downtime and ensure successful prints.
Checking the Wiring Connections
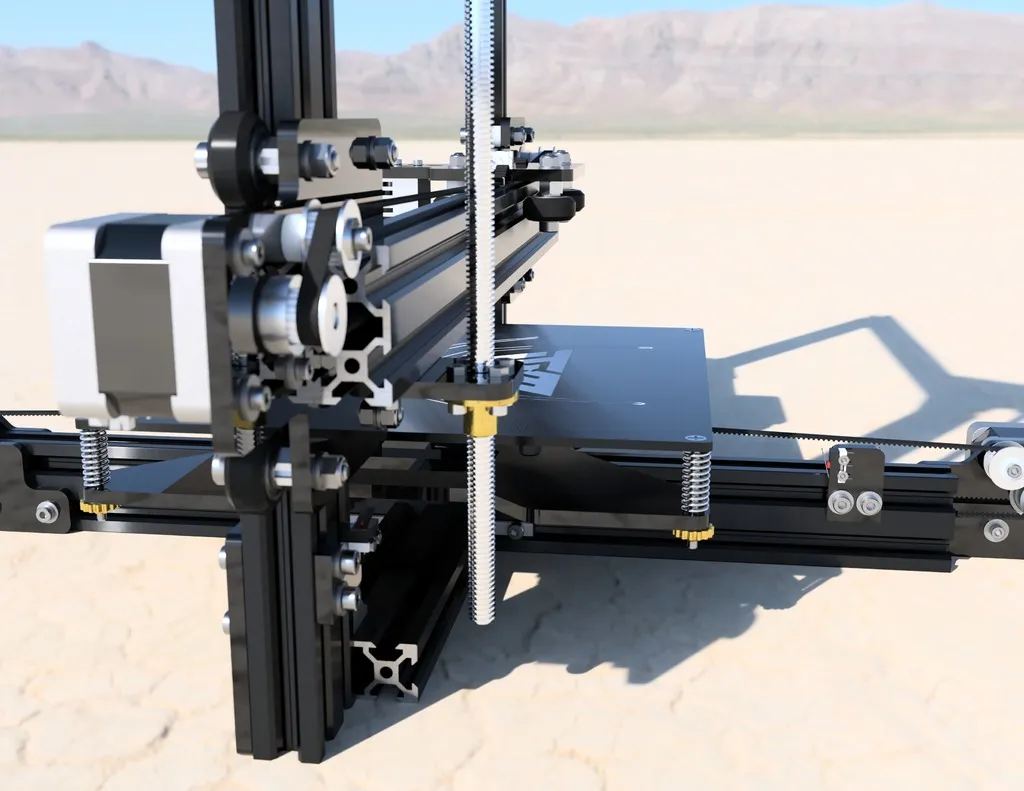
Begin by visually inspecting all wiring connections, starting with the connections to the hot end, the print bed, and the power supply. Look for any signs of fraying, damage, or loose connections. Check the terminals and connectors to ensure they are securely attached. Gently tug on each wire to confirm they are firmly in place. Pay close attention to areas where wires flex or move during printer operation. Use a multimeter to test the continuity of the wires, ensuring there are no breaks in the circuit. Loose or corroded connections should be cleaned and tightened or replaced to restore proper electrical flow. Regular checks of your wiring can prevent heating failure issues.
Repairing Loose or Damaged Wiring
If you identify any loose or damaged wiring, take the necessary steps to repair or replace it. Disconnect the printer from the power source before working with any electrical components. For loose connections, tighten the terminals or connectors securely. If the wires are damaged, carefully cut away the damaged section and strip the insulation to expose the wire. Crimp new connectors or use solder to connect the wires, ensuring a secure and reliable connection. Use heat-shrink tubing to insulate the connections and protect them from environmental factors. After completing the repairs, carefully check your work and then perform a test to ensure that the heating elements are operating correctly.
Firmware Settings
Firmware, the software that controls your printer, can affect the heating process. Incorrect settings in the firmware can prevent the heating elements from reaching the proper temperatures. These settings include the target temperature, PID control parameters (which control how the printer regulates the temperature), and safety limits. It’s important to understand the firmware settings to ensure the printer is functioning correctly. Incorrect firmware settings can lead to under-heating, over-heating, or inconsistent temperature control, leading to print failures. Regularly review and adjust the firmware settings to match the requirements of the specific filaments and ensure optimal performance.
Checking and Adjusting Firmware
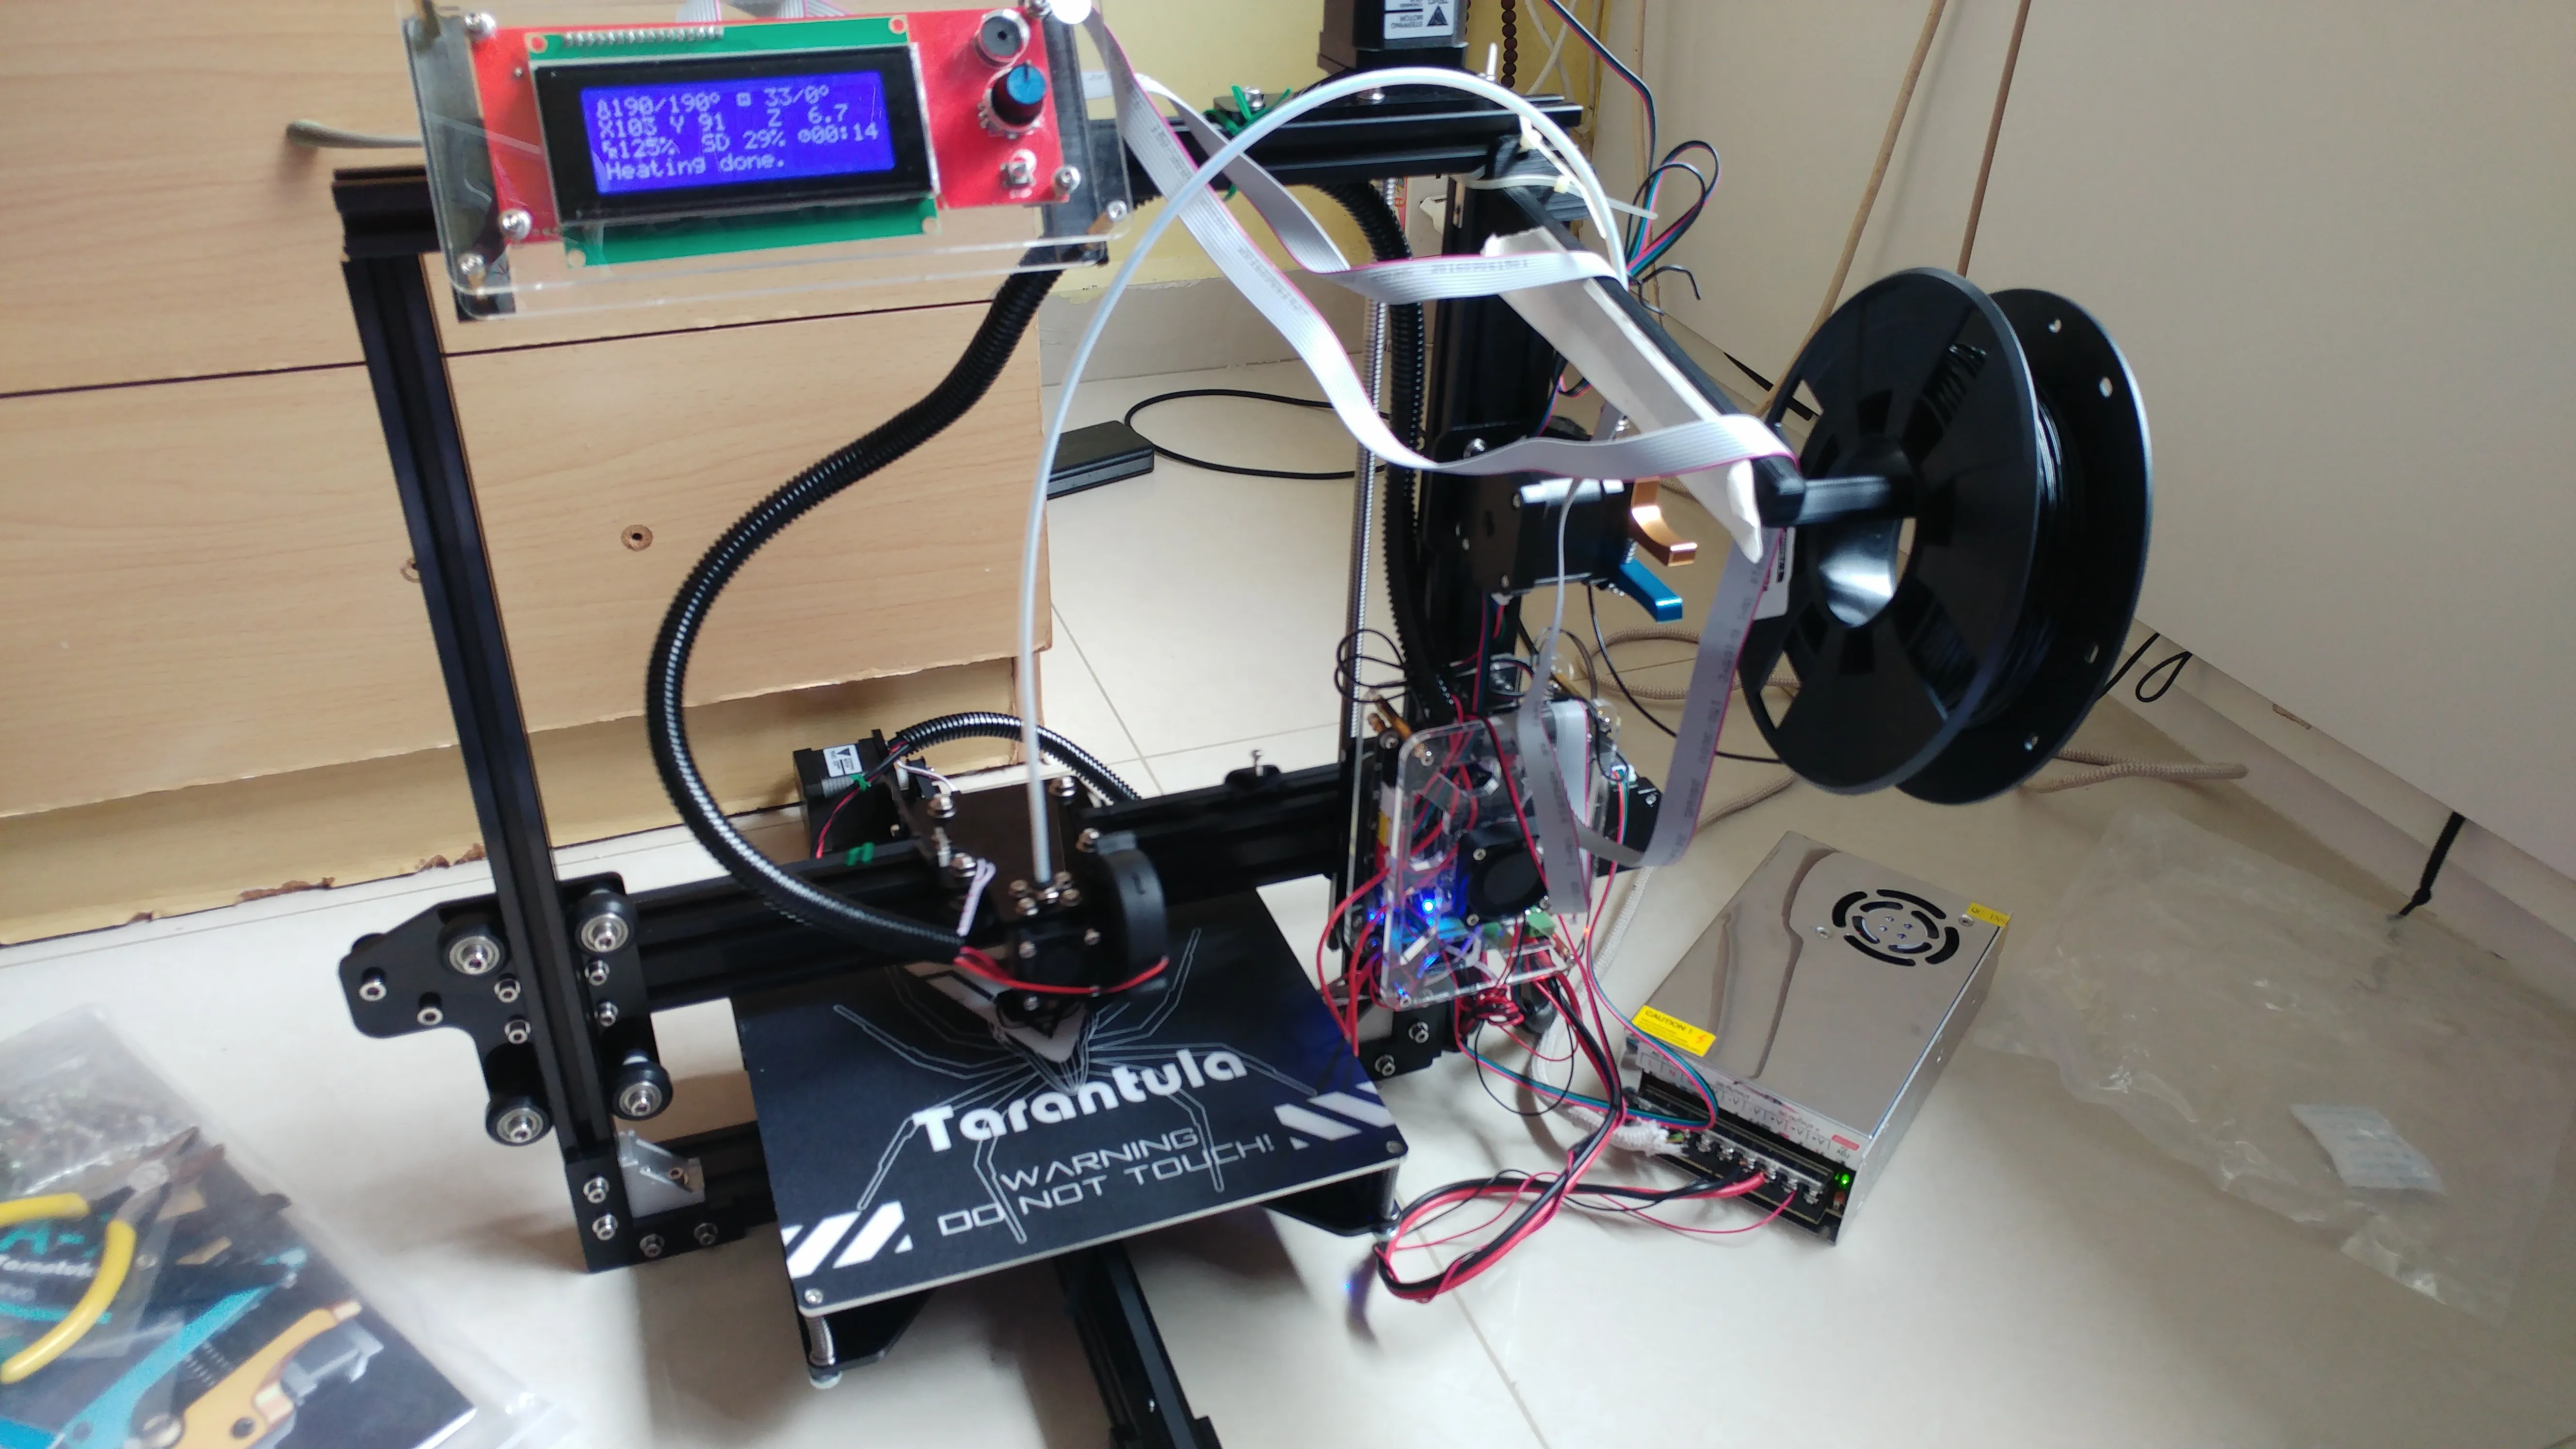
To check the firmware settings, connect your printer to a computer. Access the firmware through the printer’s control panel or via a program like Pronterface. Review the temperature settings for the hot end and print bed. Make sure the target temperatures are appropriate for the filament you are using. Check the PID control parameters. These settings influence how quickly and accurately the printer reaches and maintains the target temperature. Make small adjustments to the settings, such as the P, I, and D values, to optimize heating performance. After any changes, save the settings and test the heating system to ensure the adjustments have a positive effect.
Updating Firmware
Keeping your printer’s firmware up to date can resolve heating issues and introduce new features. To update the firmware, you’ll need to download the latest version from the manufacturer’s website or from a reputable source. Connect the printer to your computer via USB. Use a firmware flashing tool or the printer’s control panel to upload the new firmware. Follow the instructions provided by the manufacturer carefully to prevent any errors during the update process. After the update, reconfigure the settings to match your printer’s specifications. Test the heating elements to confirm that the firmware update has resolved any previous problems and that the printer is operating as expected. Proper firmware updates can lead to optimal printing.
Preventing Future Heating Failures
Preventing future heating failures involves regular maintenance and proactive steps to keep your printer in top condition. Regular cleaning, inspection, and calibration of your printer will help you avoid many common issues. By taking these preventive measures, you can significantly reduce the chances of heating failures and ensure consistent, high-quality prints.
Regular Maintenance Checklist
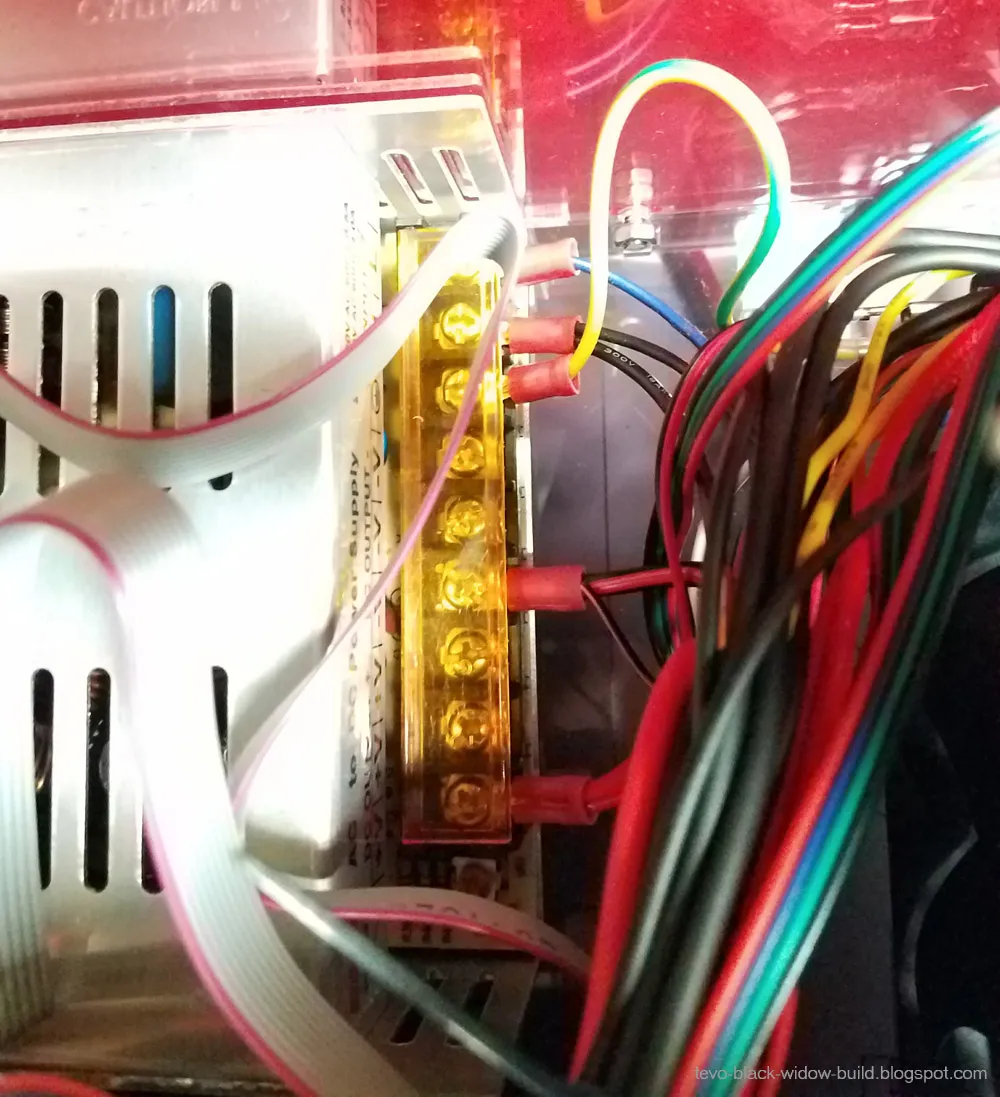
Create and follow a regular maintenance checklist to keep your printer running smoothly. This checklist should include checking the wiring for any wear or damage, regularly inspecting the thermistor and heating cartridge, and ensuring all connections are secure. Cleaning the print bed and hot end to remove debris or filament residue is essential. Lubricating the moving parts of the printer can reduce friction and wear. Calibrating the printer’s bed and nozzle height, which helps in the consistency of your prints. Periodically checking and updating the firmware is important to address potential issues. By following this checklist, you can catch potential issues early and prevent costly repairs.
Calibration and Testing Tips
After any repair or maintenance, it’s essential to perform calibration and testing to ensure your printer functions correctly. Start by calibrating the print bed to ensure a level surface and proper first layer adhesion. Check the nozzle height to make sure it is correctly set for the filament you are using. Conduct a temperature test by heating up the hot end and bed to the desired temperature and verifying that the readings are accurate. Print a test model or a small calibration cube to evaluate the print quality and identify any issues. Monitor the printer’s performance during the test print, paying close attention to the heating behavior and the consistency of the extruded filament. Always be sure to correct any calibration or setting if needed before the next print.
In conclusion, a Tevo Tarantula heating failure can disrupt your 3D printing projects. By understanding the potential causes, such as faulty thermistors, power supply issues, damaged heating cartridges, wiring problems, and incorrect firmware settings, you can effectively troubleshoot and resolve these issues. Regular maintenance, including inspections, cleaning, and calibration, will prevent future heating failures and keep your printer running smoothly. When faced with a heating problem, use this guide to diagnose the issue systematically and follow the repair steps. Consistent maintenance and troubleshooting will help you enjoy successful and consistent 3D printing experiences. Now go on and make something amazing!
